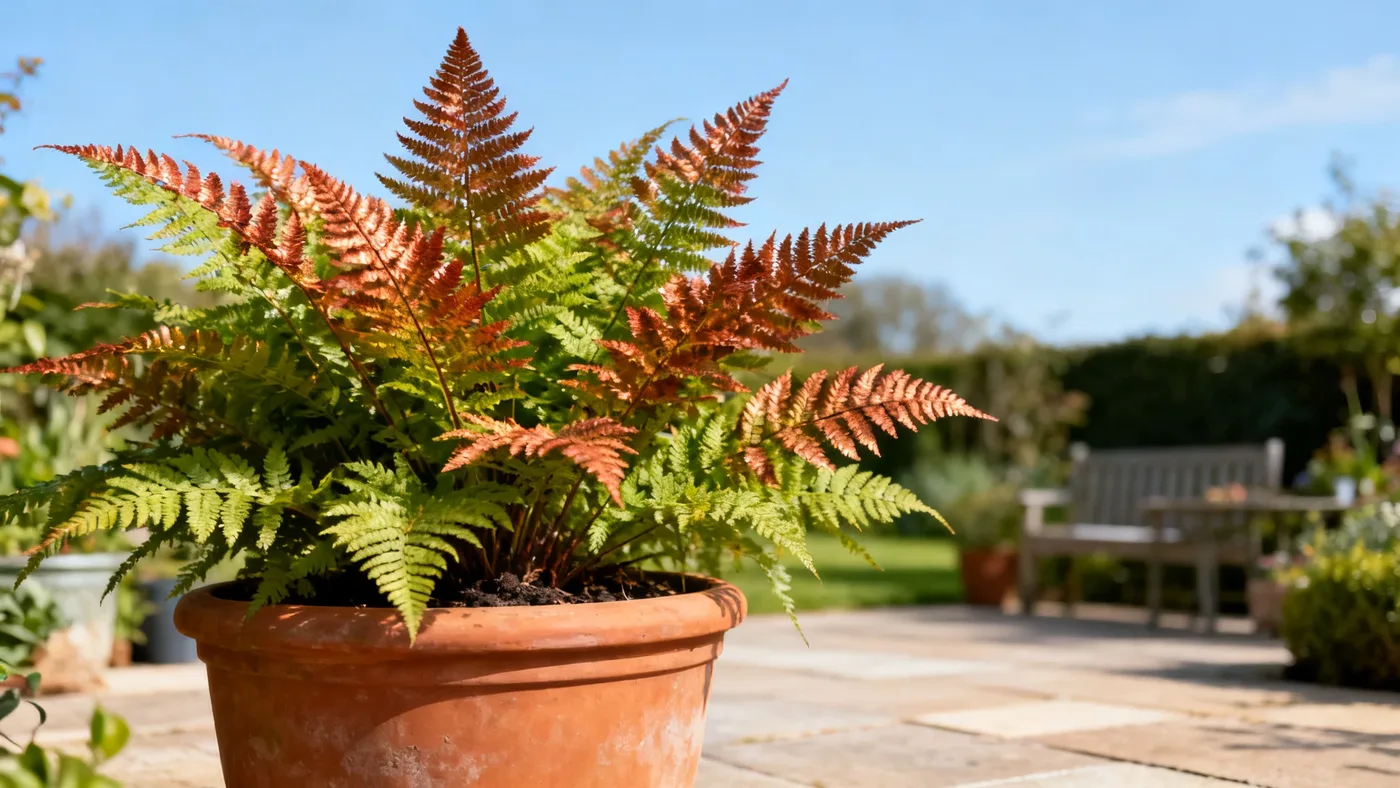
Growing Brilliance Autumn Fern in Pots and Containers
Container gardening opens up shade growing to patios, porches, and shaded entryways where you may not have in-ground garden space. Brilliance Autumn Fern thrives in containers when given the right conditions, adding year-round texture and color to your outdoor or sheltered indoor spots. This guide walks you through everything you need to know about growing autumn fern in pots, from choosing the container to managing moisture and feeding throughout the season.
Why Grow Brilliance Autumn Fern in Containers
Brilliance Autumn Fern in containers offers real advantages. You can position the pot exactly where you need shade coverage, move it if light changes seasonally, and enjoy the fern's coppery spring growth and dark glossy foliage up close. In zones 5-9, container specimens bring consistent moisture control and protection from temperature swings. The compact mature size, typically 18-24 inches in both height and width, makes this cultivar perfect for a single pot or small grouping.
Ferns are also excellent for adding living texture to shaded areas where many flowering plants struggle. Unlike blooming perennials, you're growing Brilliance Autumn Fern for its beautiful foliage and architectural presence rather than relying on seasonal color changes.
Choosing the Right Pot and Potting Mix for Autumn Fern
The best pot for autumn fern balances drainage with water retention. Ferns are not xerophytes, and your container must have drainage holes. A pot 10-12 inches in diameter works well for a young fern; as it matures over 2-3 years and reaches its full clump size, you may move it to a 14-16 inch pot. Clay and fabric pots dry faster than plastic, which is useful if you tend to overwater. Plastic holds moisture longer, which can help in hot, dry climates.
Potting mix for ferns is the single most important factor in success. Standard potting soil often drains too quickly for shade-loving ferns. Instead, blend a moisture-retentive mix that stays humusy and organically rich:
- 2 parts high-quality potting soil or peat-based medium
- 1 part coconut coir or additional peat moss (increases water retention)
- 1 part compost or aged bark (adds organic matter and aeration)
- A small handful of perlite (optional, for very dense soils)
This blend mimics the organically rich, well-drained conditions ferns prefer in nature. Aim for a pH between 5.5-6.5, which is acidic to neutral. If your tap water is alkaline, monitor the fern and consider adding a pinch of sulfur to your mix at planting if pH correction is needed.
Step-by-Step Planting Instructions
Materials You Will Need
- One Brilliance Autumn Fern plant (typically sold in quart or #1 containers from nurseries)
- A clean pot with drainage holes, 10-12 inches diameter to start
- Prepared potting mix (recipe above)
- Water and a watering can or hose
- Gloves (optional, but helpful for potting soil)
- A sheltered location with part shade to full shade
Planting Steps
Step 1: Prepare Your Space
Choose a planting location with part shade to full shade. If you're in zones 5-6 or a cooler climate, the fern tolerates more morning sun if soil moisture remains consistent. Avoid full afternoon sun, which causes frond scorch. Set up your pot where it will stay or where you can easily move it if needed.
Step 2: Fill the Pot with Potting Mix
Fill the container about one-third full with your prepared potting mix. Water the mix lightly so it settles and holds together. Ferns prefer a moist growing medium from the start, so do not let the mix dry out during planting.
Step 3: Remove the Fern from Its Nursery Container
Water the fern's original pot an hour before planting. Gently tip it sideways and slide the plant out. If roots are tightly wound around the root ball, gently loosen them with your fingers. Do not be aggressive; ferns have delicate roots, and you want to preserve as much of the root system as possible.
Step 4: Position the Fern in Its New Pot
Place the fern in the center of the new pot so the top of the root ball sits about 1 inch below the pot rim. This gives you space for watering without spillover. The crown (where fronds emerge) should be level with or slightly above the soil surface. Ferns dislike being planted too deep or too shallow.
Step 5: Backfill and Settle
Add your prepared potting mix around the sides of the root ball. Gently press it down so there are no air pockets, but do not compact it hard. The mix should be firm enough to hold the fern upright, yet loose enough to allow roots to spread. Fill to the same level as the original root ball.
Step 6: Water Thoroughly
Water until water drains from the bottom of the pot. This settles the mix and removes any remaining air pockets. Empty any saucer underneath after 10 minutes, as sitting water invites crown rot.
Container Fern Care Through the Year
Growing autumn fern in pots requires attention to a few key practices, but the routine is straightforward once you establish it.
Watering
Water is the most critical factor. Brilliance Autumn Fern needs medium, consistent moisture. In the growing season (spring through early fall), water when the top inch of potting mix feels dry to the touch. In containers, this often means watering 2-3 times per week in warm weather, but always check the soil first. Never let the pot dry out completely, especially in the first year. Ferns are not drought tolerant, and dry air combined with dry soil causes frond scorch and slow recovery.
In winter, reduce watering frequency, but do not abandon the fern. Even in dormancy, container ferns need some moisture. Check the soil every 1-2 weeks and water lightly if it feels bone-dry.
Feeding
Ferns are modest feeders. In spring, apply a light application of balanced, slow-release fertilizer according to package directions. Once per year, top-dress the container with 1 inch of fresh compost or leaf mold. This supplies nutrients gradually and improves water retention without the need for frequent liquid feeding.
Light and Temperature
Position the pot in part shade to full shade. The fern grows slowly, reaching mature clump size in about 2-3 years with roughly a few inches of new frond growth per year. In milder zones (7-9), the fern stays evergreen through winter, retaining its fronds and providing year-round interest. In zones 5-6, it becomes semi-evergreen, and fronds may flatten or brown in harsh winters. Protect pots from drying winter winds if possible.
Pruning and Maintenance
Ferns need minimal pruning. In late winter to very early spring, before new fiddleheads emerge, cut back any winter-damaged or tattered fronds with clean scissors. Remove them at the base where they meet the crown. Otherwise, allow the fern to grow naturally. Do not deadhead or cut back actively growing fronds, as ferns do not bloom and rely on foliage for photosynthesis.
Troubleshooting Common Problems
Even with good care, container ferns face occasional challenges. Here is how to prevent and manage the most common issues:
Crown Rot and Root Rot
Poor drainage and overwatering are the main culprits. If the potting mix stays waterlogged or the crown sits in standing water, fungi can attack the base. Always ensure your pot has drainage holes and empty saucers within 10 minutes of watering. If crown rot has begun, the affected tissue turns soft and dark. Unfortunately, once the crown is rotted, the fern usually cannot recover. Prevention is far simpler: use well-draining potting mix and never let the pot sit in water.
Frond Scorch and Browning
Fronds turn brown or crispy from two causes: inconsistent watering or too much direct sun. Ferns growing in containers exposed to afternoon sun dry out rapidly. Move the pot to deeper shade or a location with morning sun only. If watering is irregular, establish a routine check and keep the soil consistently moist (not soggy).
Slow Growth or Tattered Appearance in Year One
Newly planted ferns are slow to fill in during the first year after planting. This is normal. The fern is establishing its root system in its new home. By year two, growth accelerates noticeably. If fronds look tattered or sparse despite proper care, check for pests or disease before assuming the plant is failing.
Slugs, Snails, and Other Pests
Container ferns occasionally host slugs and snails, especially in humid shade. These pests chew ragged holes in fronds. Inspect the undersides of fronds and around the crown. Hand-pick pests in the evening, or use a slug bait designed for shade gardens. Mealybugs and scale insects are occasional but less common on outdoor ferns. Spray infested fronds with neem oil or an insecticidal soap if needed, always following label directions.
Quick Reference Checklist
| Task | When | Details |
|---|---|---|
| Watering | Spring through fall, 2-3x weekly; winter, every 1-2 weeks | Keep top inch of potting mix moist; never let pot dry out completely |
| Fertilizing | Spring only | Light application of balanced, slow-release fertilizer |
| Top-dressing | Annually, spring | Add 1 inch of compost or leaf mold to container surface |
| Pruning | Late winter to early spring | Cut back winter-damaged or tattered fronds before new growth emerges |
| Pot size | At planting and after 2-3 years | Start: 10-12 inches; mature: 14-16 inches diameter |
| Light | Year-round | Part shade to full shade; avoid afternoon sun |
| Expected size | Mature in 2-3 years | 18-24 inches tall and wide, slow to moderate growth rate |
Connecting to Broader Care
Container growing is just one way to enjoy Brilliance Autumn Fern. For a complete picture of year-round care, check out our comprehensive Brilliance Autumn Fern care guide, which covers in-ground planting, seasonal maintenance, and landscape design ideas. If you are curious about the mature size and spacing needs for larger plantings, our guide on how big Brilliance Autumn Fern really gets explores mature dimensions and best spacing practices.
Container ferns reward consistent care with years of beautiful foliage. By matching the fern's preference for shade, moisture, and organically rich soil, you create the conditions for healthy, vibrant growth right outside your door.