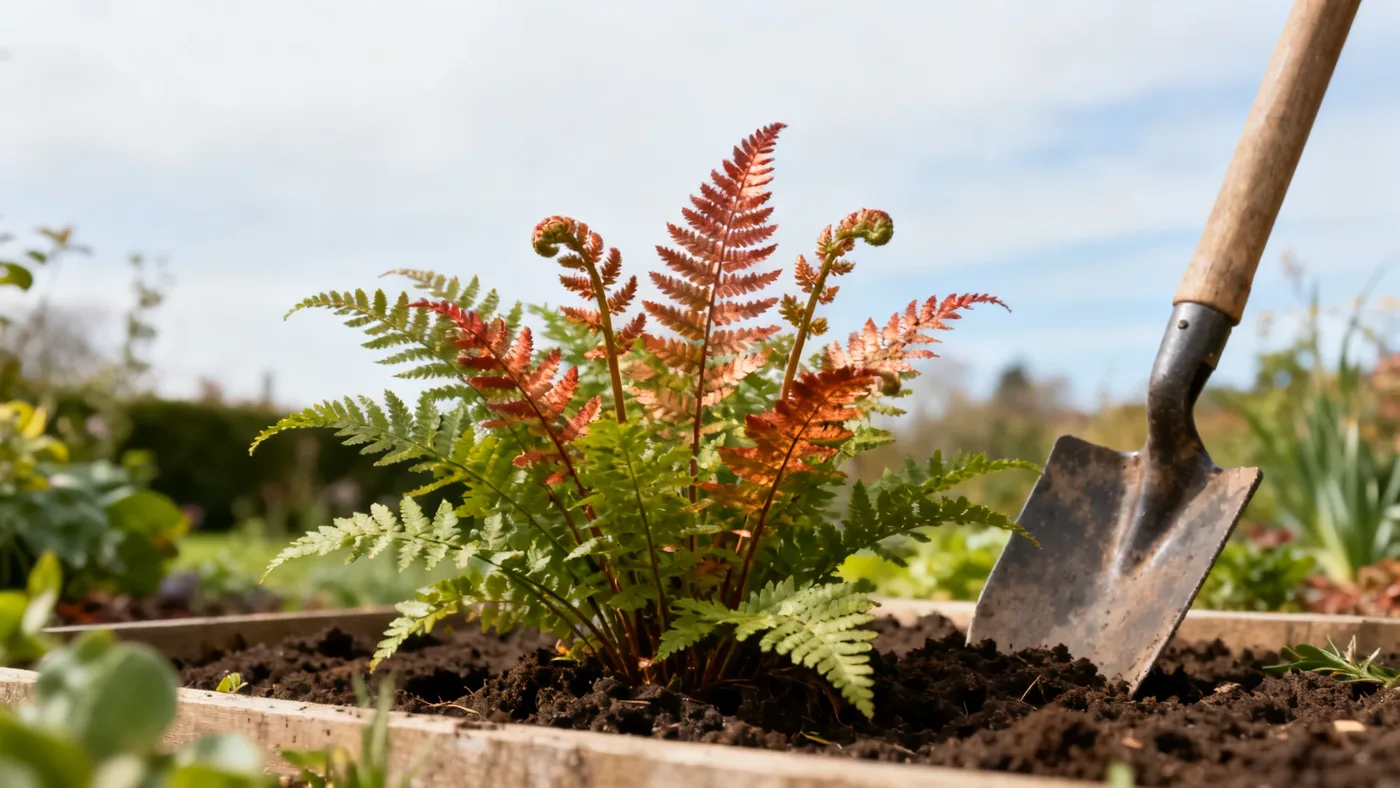
How to Plant Brilliance Autumn Fern for Best Results
A Brilliance Autumn Fern is sitting by your back door in its nursery pot, and you are wondering if October is too late to plant it. It is not. Fall is one of the two good windows, and this fern is happy to go in the ground now.
This article talks about when to plant, how to prep the site, the planting steps and the mistakes we see most, and answers the questions customers ask us most. Read on to learn how deep to set the crown, how far apart to space plants and what your fern will do through its first year.
Get it right and you get an evergreen clump with red new fronds in spring turning coppery pink, then dark glossy green. Get it wrong, usually by burying the crown, and the fern rots.
Pick a Planting Season for Brilliance Autumn Fern
The best time for planting autumn fern is spring or fall. Both seasons give the plant time to establish roots before temperature extremes arrive. Spring planting, after the last hard frost in your zone, works well because the soil warms and new growth accelerates. Fall planting, from late summer through early autumn, also succeeds, as cooling soil and shorter days slow water loss while roots develop.
Your USDA zone matters here. The species is hardy in USDA zones 5 through 11, so Brilliance is not fussy about cold. Our rule is simple. In the coldest part of that range, plant in spring so roots get a full season before winter. In the hottest part, plant in fall so the fern skips summer heat shock.
Late Winter: Gather Materials and Prep the Site
Before you dig, gather what you'll need to set up your fern for success.
- Brilliance Autumn Fern plant (usually sold in quart or #1 container sizes)
- Compost or well-aged leaf mold (a large shovel or two)
- Peat moss or coir (optional, for moisture retention)
- Shovel and hand trowel
- Garden gloves
- Mulch: shredded bark or leaves (about 2-3 inches depth)
- Watering can or soaker hose
- Soil test kit or local extension service contact (to check pH)
Preparation begins with your planting site. Choose a location with part shade to full shade. This fern tolerates more morning sun in cooler climates if soil moisture stays consistent, but afternoon sun, especially in warmer zones, can scorch the fronds. A spot under a deciduous tree, on the north side of a building, or in a shaded border works well.
Plenty of advice says to tuck ferns into the darkest corner you have. We don't follow that for Brilliance. In our rows, plants that get a few hours of gentle morning light hold their coppery color better than plants in deep gloom, as long as the soil stays evenly moist. Just keep them out of hot afternoon sun.
Next, check your soil. Brilliance Autumn Fern prefers humusy, organically rich, well-drained soil that stays moist. The species likes acidic, constantly moist soils that are high in organic matter, and the cultivar tolerates a wider pH range.
If your soil is heavy clay or compacted, amend it now by mixing in 2-3 inches of compost or leaf mold. If it drains poorly after rain, build a raised bed or mound the planting area slightly to prevent crown rot, the main way we lose this fern. Our soil guide goes deeper on pH and prep.
Spring: Plant Brilliance Step by Step
Follow these steps to plant your Brilliance Autumn Fern and establish it correctly.
- Dig the planting hole. Make the hole about 1.5 times the width of the container and roughly the same depth. If your fern is in a quart pot (standard), your hole should be 8-10 inches wide and 6-8 inches deep. Do not plant deeper than the top of the root ball. Shallow planting is better than deep. A buried crown will rot.
- Loosen the root ball. Gently remove the fern from its container and loosen the roots with your fingers or a hand trowel. If roots are tightly bound, make three or four shallow cuts along the sides of the root ball to encourage outward growth. This step is often overlooked but speeds establishment.
- Position the fern at soil level. Set the fern in the hole so the top of the root ball is level with the surrounding ground. The crown (where fronds emerge) should sit right at or just above the soil surface. Step back and check alignment. A tilted fern looks off and may drain poorly.
- Backfill with amended soil. Fill the hole with your amended soil mixture (native soil mixed with compost or leaf mold). Tamp gently as you go to eliminate air pockets, but do not pack the soil hard. Stop when the hole is full and the fern sits securely.
- Water thoroughly. Give the newly planted fern a slow, deep watering to settle the soil and eliminate voids around the roots. The soil should be damp but not waterlogged. Brilliance Autumn Fern prefers medium, consistent moisture and is not drought tolerant, especially in the first year.
- Apply mulch. Spread 2-3 inches of shredded bark or shredded leaves around the base, keeping mulch 2-3 inches away from the crown to allow air circulation. Mulch moderates soil temperature, retains moisture, and suppresses weeds. Avoid piling mulch against the fern's base.
- Water again in 2-3 days. If no rain falls, water the planting area again within 2-3 days. This second watering keeps the root zone consistently moist as the fern settles in. For the first year, consistency matters more than heavy watering. Aim for evenly damp soil.
Spacing for Multiple Ferns
Planting a group changes the spacing math. Here is what we recommend for a mass planting or groundcover.
Space plants about 2 feet apart. That gives each fern room to grow toward its mature spread without overcrowding. Plants set too close compete for moisture and air, which raises disease risk. Brilliance is slow to fill, so a mass planting looks sparse for the first few years. Resist the urge to plant closer to speed it up.
Summer: Water, Mulch and Wait
A few proven strategies help your fern establish faster and grow stronger.
- Keep soil consistently moist, never soggy. Ferns dislike drought but hate waterlogged soil. If you are unsure whether to water, feel the soil 2-3 inches down. If it is damp, wait. If it is dry, water. Drip irrigation or a soaker hose is ideal for ferns because it delivers water to the root zone without wetting fronds, which can encourage disease.
- Mulch from day one. A 2-3 inch layer of mulch is one of the best investments you can make. It keeps soil cool, reduces watering frequency, and stabilizes moisture swings that stress newly planted ferns.
- Choose a sheltered spot. Wind can dry fronds quickly, especially in the first season. A site sheltered by taller plants, a fence, or a building works better than an exposed, windy bed.
- Enrich the soil before planting. If your native soil is poor or compacted, mixing in compost or leaf mold at planting time saves you months of struggle. You cannot easily amend soil after planting, so do this step once and do it right.
- Apply a light spring fertilizer. In spring, after the fern has been in the ground for a full year, apply a balanced, slow-release fertilizer per package directions. An annual top-dress with compost or leaf mold usually provides enough nutrition for ferns, so avoid over-fertilizing.
One of the most common questions we get is whether to feed a new fern right away. We say no. Compost at planting and a mulch layer do the job, and our mulching guide covers how to keep it going. After that, plant it and leave it alone.
Mistakes We See Most
A few missteps trip up new fern growers. Knowing what to watch for helps you avoid them.
- Planting too deep. We see this one constantly. Even 1-2 inches of extra soil over the crown can cause rot, especially in wet soil. Keep the crown right at soil level.
- Choosing a site that is too sunny. A spot with afternoon sun, especially in zones 8-9, will scorch fronds and stress the plant. Stick to part shade or full shade. Morning sun is usually safe if moisture is consistent.
- Inconsistent watering. Alternating between drought and saturation stresses the fern and invites root rot and frond damage. During the first year, consistent moisture is non-negotiable.
- Planting in heavy clay without amendment. Unamended clay soil stays soggy and leads to crown rot. Always mix in compost or leaf mold if your soil is dense.
- Expecting rapid filling. Brilliance Autumn Fern grows slowly and can take years to reach full size. Expect only a few inches of new frond growth per year. Impatience leads to overwatering or over-fertilizing, which backfires.
- Neglecting to loosen the root ball. Roots that stay bound to the container soil will not spread into the surrounding soil, slowing establishment. Always gently loosen roots at planting.
Fall and Winter: What to Expect After Planting
Knowing what normal looks like keeps you from panicking over minor changes.
In the first 2-4 weeks, your newly planted fern may look a bit limp or droopy as it adjusts to its new site. This is transplant stress, and it is normal. Consistent moisture and shade will help it recover. Do not disturb the plant or dig it up to check on it. Just keep the soil evenly damp and wait.
By late spring or early summer (depending on planting time), you should see new fiddleheads unfurling. New growth emerges with coppery-red to bronze coloring, which gradually matures to the glossy dark green that the cultivar is known for. This color change is natural and beautiful and typically takes 3-4 weeks per new frond.
The fern will not bloom. It reproduces by spores and does not flower. You will never see flowers on Brilliance Autumn Fern.
In zone 6 and warmer, fronds persist through winter, providing structure and color in the shade garden. In zone 5, some fronds may brown or flatten in harsh winters, but the plant survives and regrows in spring. In cold winters, fronds may take on bronze tones rather than dropping. Our winter care guide covers protection for cold climates.
Over the years, the fern slowly expands into a clump that reaches 1.5 to 3 feet tall and wide over 5 to 10 years. Deer seldom damage it, so you can plant it with confidence where browsing pressure is high.
For more details on caring for your fern after the first season, including pruning and long-term maintenance, see our complete Brilliance Autumn Fern care guide.
Planting in Containers
A pot works if you can't give the fern a bed. Here is what changes.
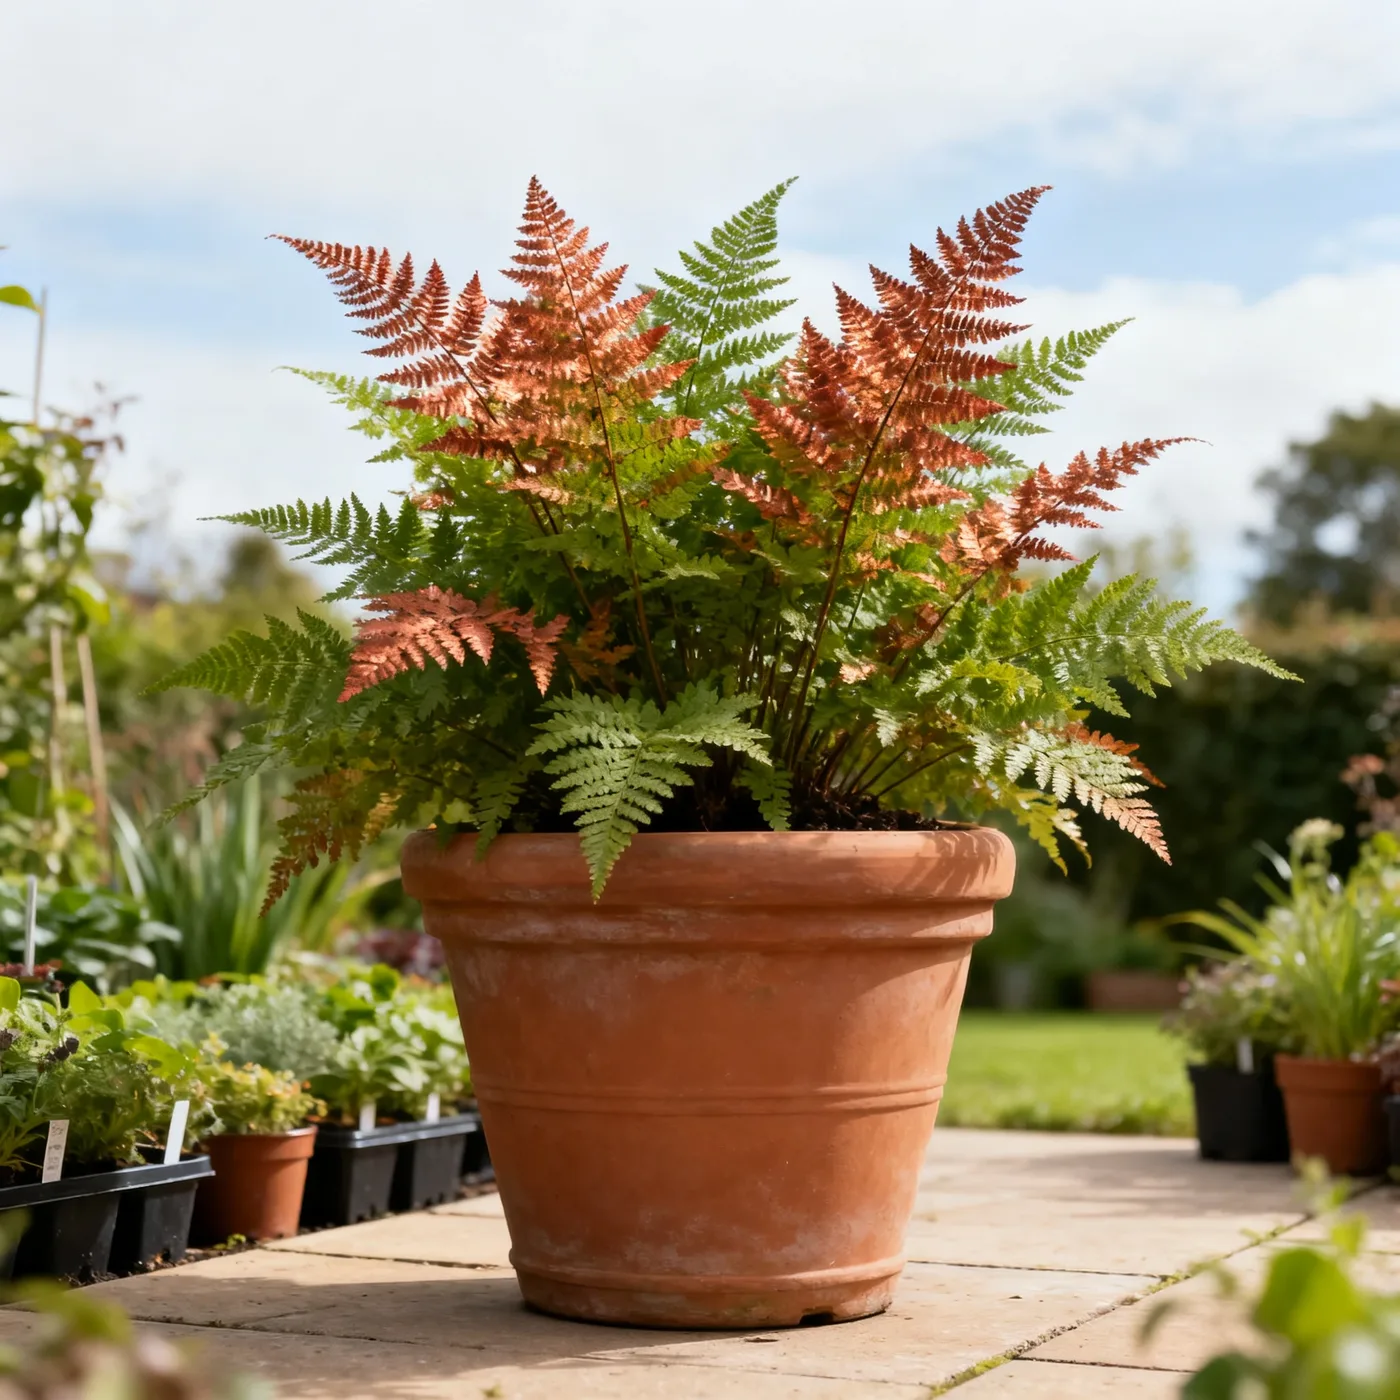
If you prefer to grow Brilliance Autumn Fern in a pot, the same principles apply. Use a moisture-retentive potting mix (not pure perlite or sand), place the pot in a shaded location, and keep the soil consistently damp but not waterlogged. Containers dry faster than in-ground beds, so check the soil every 2-3 days during the growing season. A potted fern adds shade-garden texture to patios, entry ways, or anywhere you want a pop of evergreen color.
Quick Reference: Brilliance Autumn Fern Planting Guide
This table pulls the key planting numbers into one place so you can check them at the bed.
| Planting Factor | Details |
|---|---|
| Best planting season | Spring or fall |
| USDA hardiness zones | Species listed for zones 5–11 |
| Light requirement | Part shade to full shade |
| Soil type | Humusy, organically rich, moist but well-drained |
| Soil pH | Acidic, below 6.0 for the species |
| Hole depth | Same depth as root ball, never bury the crown |
| Hole width | 1.5 times the width of the container |
| Spacing (mass planting) | About 2 feet apart |
| Mulch depth | 2-3 inches, kept away from the crown |
| Initial watering | Deep watering at planting, consistent moisture first year |
| Mature height/width | 1.5–3 feet tall and wide |
| Time to reach mature size | 5–10 years |
| Container suitable? | Yes, in shaded location with moisture-retentive potting mix |
| Winter hardiness | Evergreen, though fronds may brown in the coldest zones |
Plant Brilliance Once and Leave It Alone
Pick spring or fall, set the crown level with the soil, water well, mulch, and keep the soil evenly moist through the first year. Then stop fussing. Brilliance is slow, but it rewards patience with red new fronds each spring and evergreen color for years.
Brilliance Autumn Fern
Nursery-grown Brilliance Autumn Fern in sizes from 4 Inch, shipped to your door.
From $16.99
Shop Now →On our farms, we grow Brilliance in part shade, in humusy soil that stays evenly moist, under a layer of mulch and with very little feeding. We are a small business of growers with our own farms, and we grow and sell top-quality ferns that are ready to go straight into your bed.